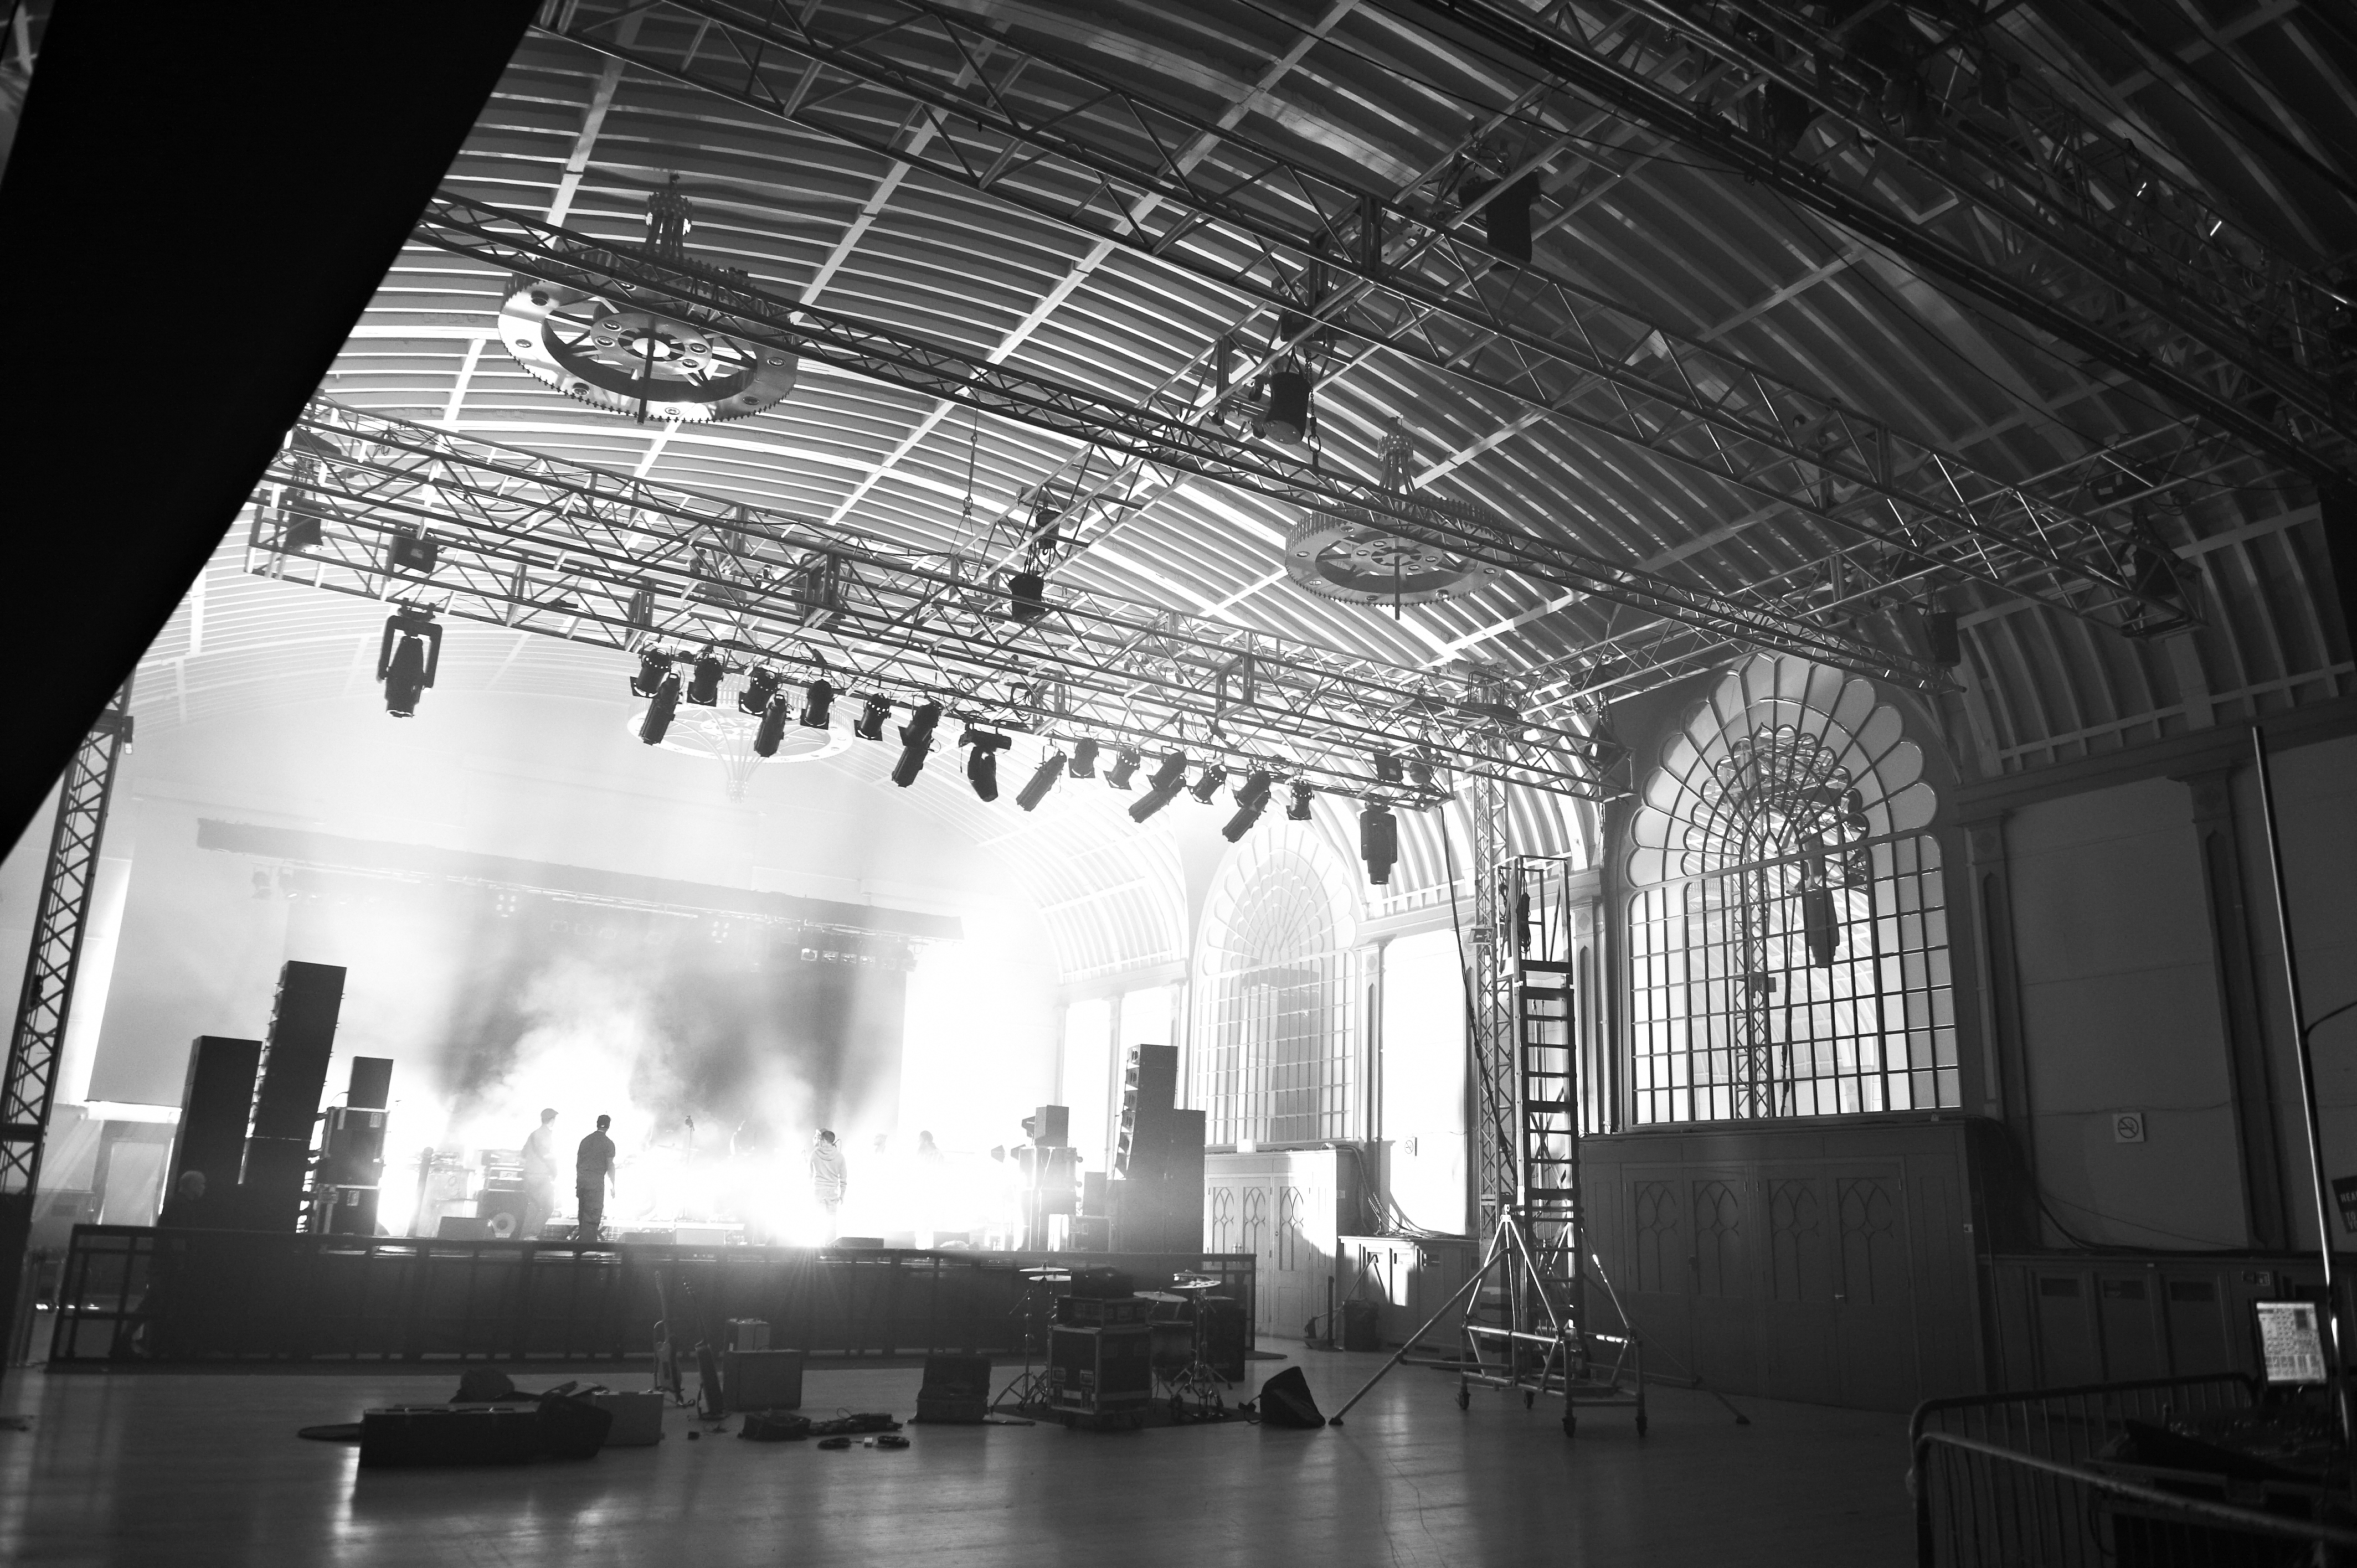
It’s easy to sound good in your own rehearsal space. But as any touring band will tell you with a shudder, once you’re somewhere new with a rogue soundman and a bewildering PA, it can be a challenge. A soundcheck is a must. It’s not optional. It’s your one chance to iron out the inevitable glitches and chase down a live sound that lets your music shine. Here’s our advice on making the most of it…
Plan ahead
Arriving on time at the venue is a minimum requirement, but to hit the ground running at soundcheck, email the house engineer in advance to tell them your tech spec. This information should include your channel list and stage plot, setting out the position of monitors, mics, drumkits, amps and keyboards, along with details of whether these are to be mic’d, DI’d (or both).
Check that your gear is in working order before you load it, and if you need any specialist equipment be sure to call ahead. “That way,” says MU Regional Officer and former Damned bassist Paul Gray, “the more diligent engineers will be aware of what’s needed for you stage-wise well before you arrive.”
Get the engineer on side
Everyone has heard horror stories about sabotaged shows, but the vast majority of sound engineers are accommodating unless wronged, and by being friendly and polite, you should be paid back with a good tone. Introduce yourself to the house crew, and make an effort to remember names.
A bond with the engineer will also make them more receptive to your band’s individual quirks. Before you even start playing, describe the sound you hope to achieve and flag up any songs that deviate from it. If you can afford one, touring with a dedicated engineer who knows your setlist and sound will unquestionably make life easier onstage.
Be systematic
Soundchecking is like building a house, explains MU Sessions Official Pete Thoms, and should start with the foundations. “Generally, you begin with the drums. They cover a lot of the audio spectrum, from high cymbal sounds right down to the bass drum, so by sound checking them first, you can get a good idea of the acoustics of the space. Then you work through. Add the bass. Add the guitars. So you get a basic rhythm section sound, which obviously is going to anchor the whole feel of the music.”
Respect the engineer’s opinion as they listen from front-of-house, and be wary of the band member who tries to dominate the mix. “In The Damned it was a case of everything louder than everyone else,” says Paul, “which is the main reason why I have significant hearing loss. Every instrument has its place, and it’s a truism that the best out-front and stage sounds are at gigs where the backline volume is kept to a minimum. It only takes one instrument to be over-loud and the whole out-front balance goes pear-shaped. Ideally, everything should be quiet enough to be patched through the main PA system. These days, a big sound is easily possible at a low volume.”
Give acoustic instruments extra attention. Some instruments will behave in a studio context, then betray you on the stage.
Play like you mean it
The best way to establish whether the engineer has achieved a balanced sound is to play songs that best represent your live sound. You need to be able to concentrate on sound instead of what you are playing, so choose songs you know well.
The venue might be empty, but don’t hold back. “Play with the energy and passion you would during the gig,” advises Paul. “It’s surprising how many bands go through the motions of soundchecking or are nervous about giving it some welly. It stands to reason that if the engineer balances your sound on a half-hearted soundcheck and you later come out all guns blazing, your sound and balance is going to be considerably different – read ‘worse’ – and then you’ve got problems, not just onstage, but out front too.”
Get in touch with your Union
Got a question about soundchecking, or any other aspect of your career? Get in touch for advice from our specialists via , where you will also find information about rehearsing, performing, your rights and how to protect them.
ALSO READ:


