3 tips to better promote your music videos on YouTube
Blog by Jane Parker under Media, Selling & Distributing Your Music
This article originally appeared on the Sonicbids blog
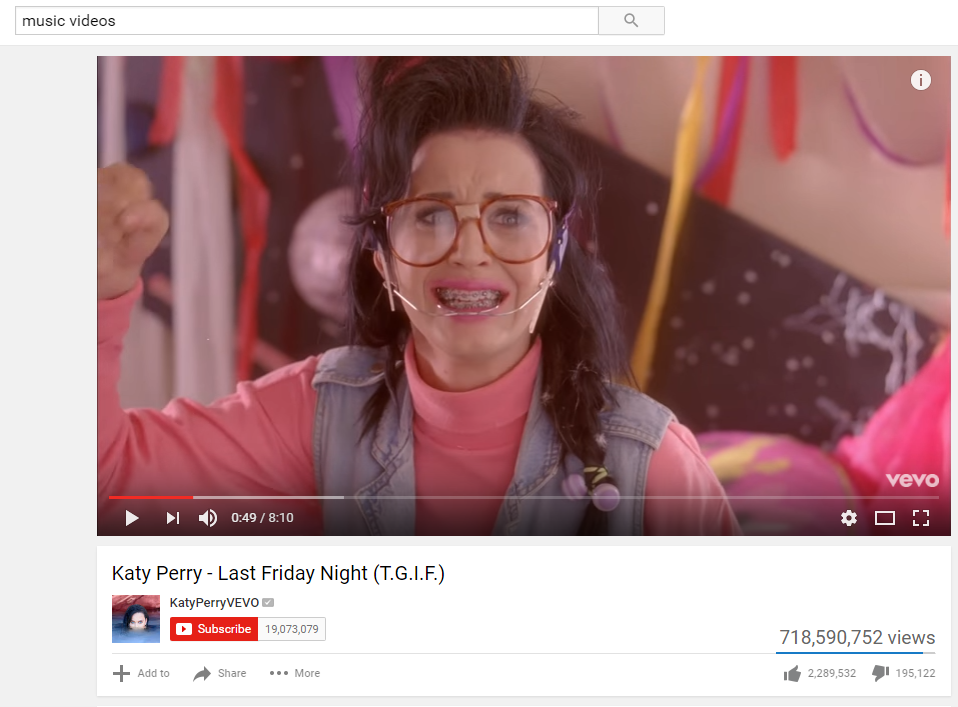
If I've said it once, I've said it a hundred times just on this blog alone: YouTube is so important to you as a musician. You might not like the payout rates or even the website itself, but it doesn’t change the fact that the platform is incredibly popular, and that you’ll be losing out by not investing time and effort into making sure you’re getting as much as possible out of your channel and your videos.
YouTube has an option where you can actually add certain features to your videos, as in right on top of the clip itself! We’ve all seen it, but many people have never really thought about looking into how people do this, or into doing it themselves. If you’re curious, read on. There are a handful of options you might want to start adding to your videos before you post.
1. A SUBSCRIBE BUTTON
Underneath the box that displays your video, you can and should have a red button that says “Subscribe” next to your page’s profile image. That’s automatic, but there's more that you can do to increase your subscriber count. You can actually add a small clickable option on the video itself that allows people to subscribe to your channel, which will hopefully mean they'll keep coming back for more.
It takes a second to figure out how to actually do this, but after you’ve done it once, it’ll come like second nature from then on. Here’s how:
Once you’re logged into your channel, click on the button up top that says “Video Manager.”
From there, you’ll see a list of every video you’ve uploaded to the site. Click the dropdown menu that originally says “edit” on any one clip that is in need of a subscriber button, and select the option “annotations.”
When the next page loads, you’ll see a similar dropdown menu towards the upper righthand corner of the page, and you can choose an option called “Note.”
It allows you to enter any text, but keep it simple. Something like “Subscribe now!” or “Subscribe to my channel” will do just fine.
It’s pretty obvious from there how you change the size of the text, the box itself, and so on. You can only customize so much, but feel free to go wild with the options that are available.
Make sure you click a small box at the bottom of the editing section of all of this that says “Link.” That will allow you to choose where that box will link to. To ask your viewers to subscribe to your channel, simply opt for the “Subscribe” choice.
As you’re adding a subscribe button to your actual video, keep in mind that it will cover up some of what’s playing. You want to make sure you don’t cover something important, and that it isn’t so intrusive so as to ruin the experience of the actual video. Place it in a corner up top to make sure it’s both clickable and out of the way.
2. YOUR LOGO
What’s that? You don’t have a logo? Well, that’s another problem, and one you need to solve immediately. Once you get one made and you’re happy with it, you’re going to want to slap it everywhere – including your videos, of course!
This is a good idea, especially if you’re going to be creating YouTube-specific content that isn’t just proper music videos. Anything else you upload should have your logo on it, because you should never, never miss an opportunity to brand yourself and everything you do!
Want to add some good branding to your videos? Here’s how you should go about it:
Log into your account and visit the "My Channel" page.
Find the pencil on the right and click “Channel settings.”
There's an option underneath that says “Branding,” which is exactly what you want to do.
Choose “Add a watermark,” which will then add your logo (which you’ll be asked to upload) to every video you post from then on, which is wonderfully efficient.
YouTube suggests you stick with something transparent and one color, but that’s not entirely necessary. You might want to get a graphic designer to make you a transparent-looking version of your logo for this purpose, but you don’t have to.
3. CLICK-THROUGH BOXES
Many well-produced YouTube videos have clear boxes that pop up and down as you’re watching, with each one having a different purpose. To add a box that links to something else (other than the video someone is currently watching), you’ll want to go through the same process as when you added a subscription button to your clips.
You can choose the text, the size of the box, and even when it will show up on the screen, which is helpful if you’re going to suggest that someone visit your store, your Kickstarter page, or even another music video. You can have a box that takes them directly to said places show up exactly as you’re mentioning them, which increases the chances that they'll do what you want them to.
If you space out when the boxes spring up into view, there's no reason why you couldn’t have one that encourages people to subscribe and another that takes them right to the next single from your new album, which they might not know. You don't want the whole thing to look too busy, so try to only have one box at a time on the screen, but also keep in mind how much adding these could be beneficial.
ALSO READ:
Tips on using social media to promote your music
Creating the ultimate press kit for your band
Music PR advice on creating a unique artist story
Tags
Tips for bands and artists to promote music videos on YouTube

