East Midlands recording studio have kindly contributed a 2 part blog this week covering pretty much everything you need to know, consider and plan for when heading into the studio.
Rofl Audio offer recording and mixing services, as well as voiceover, TV and radio services, so they certainly know their stuff and are capable of helping everyone from aspiring musicians, seasoned professionals, voiceover artists or businesses needing audio services. Let’s hand over to Mark & Dave, co-founders of Rofl, to share the first part of this informative blog…
More and more up and coming bands are realising that to get noticed, having a bunch of clips on YouTube of them singing in their bedrooms isn’t going to be enough, and that creating an amazing sounding piece of music is a necessary tool in their arsenal when trying to attract the attention of their dream promoter, manager or label. Here is a guide on how to make the most out of your recording sessions so that you don’t come away feeling like you’ve had your mojo (and money) sucked out of you.
WORK OUT YOUR GOALS
Are you looking for a quick demo to get you gigs? If so would you be happy with just throwing some microphones up and capturing a live performance? Or are you looking to record a professional EP to sell or push to record labels? Whatever your goal, it is important to work out what the purpose of your recording is so that you keep this in mind throughout the process. The importance of this will become clearer when deciding on your budget and in what context your recording is going to be heard. Work out where it will fit in your overall musical plan.
PRE-PRODUCTION/REHEARSAL
Pre-production is arguably the most important stage in the entire process. Most of this will be done before you even set foot in a studio. This covers the composition, rehearsal and arrangement of your songs. Often, on higher budgets producers will be involved at this stage to offer advice on arrangements and instrumentation as well as how to get the best performance on the day. On smaller budgets, bands will often ‘produce’ themselves. It is often worth considering booking time in the studio prior to the main recording session so artists and bands can get used to the environment and become comfortable in the studio setting.
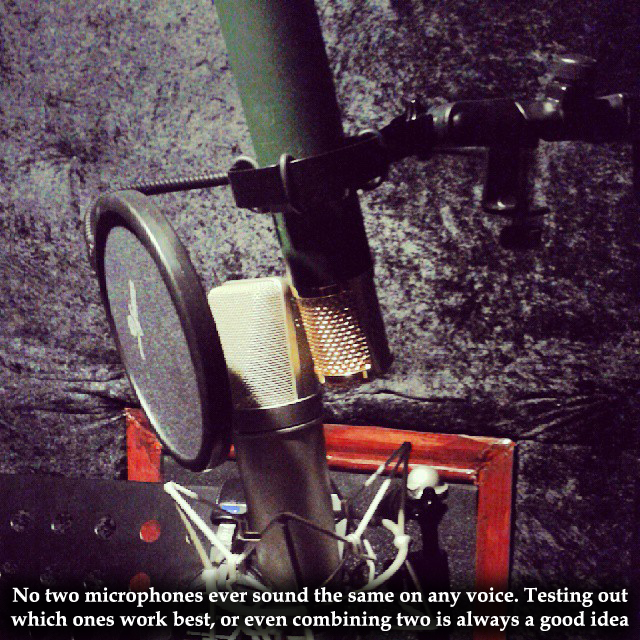
Pre-production on more professional recordings will often go down to details such as testing out microphones prior to your recording session in order to work out which ones will suit the vocalist best, or work out how to capture the right drum sound, discussing which type of room you want to record in and sourcing reference tracks to help everyone involved understand the sound you are trying to achieve.
Of course the most important part of pre-production is rehearsal. Make sure you know what you are supposed to be playing so that you don’t lose any valuable time later on, trying to work out or remember parts. To get the most out of your session it is worth remembering the details such as knowing your lyrics, changing your guitar strings, bringing spare drumsticks etc.
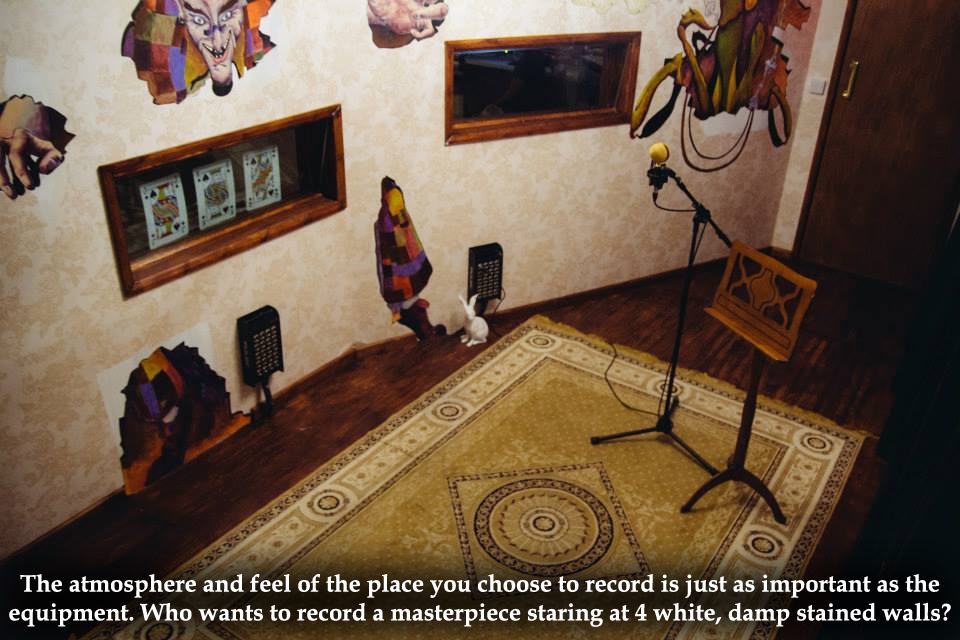
It is at this stage in the process where you will need to figure out where you want to record. If you have a producer they will more than likely figure this out for you but you may want to have input into this decision.
Factors will include; previous/notable clients which are representative of your sound, what equipment they have, how big the live rooms are and what back-line is included. Perhaps they have a live room which is famed for its drum sound? Perhaps it may be the case that you want to record drums at one studio and guitars at another?
These are all decisions that you will need to take into account when deciding where to record. Of course, for those acts that are still starting out and don’t have big labels backing them, budget will also be a factor. But be aware, it is often the case that you get what you pay for! If you are tight on budget, it’s always best to do less songs of a higher quality than try to do more songs and leave them unfinished. Most studios will be accommodating and will offer advice when trying to work out how to get the most value for your money.
It is often a good idea to bring with you (ideally before your session) any home recordings/demos that you have along with any reference tracks so that your engineer and producers will know what they’re dealing with.
HOME RECORDING vs STUDIO RECORDING
In times where money is tight, it is often tempting to consider a home recording scenario for your record. It is true that many artists have had success in recent times with self-released records that have been recorded at home. While this is often the cheaper option, these are still the exception to the rule. It is recommended that you record in a professional space, with professional engineers if you want your recording to be heard by the right people. You might not be able to hear the difference but they can! The best of both worlds would of course be to use a home recording set-up to facilitate your pre-production and iron out any arrangement/performance tweaks and then head to a pro studio when you are ready to record the final thing.
TRACKING
So the day is finally here. You’re ready to record the songs that you’ve been working so hard on for so many months. Let’s not ruin all that hard work by turning up late or hung-over. Be sure to get a good night’s rest before you head into the studio. Be sure to allow yourself enough studio time to get the right take. There is nothing worse than feeling that you could have done better if you’d just had more time. Be sure to work with the engineers that are running your session on conducting the session in an efficient way so that each member of the band has enough allocated time to get their parts down. One major pitfall here is spending too long on the early stages like drums for instance, meaning your vocalist has to rush to get his parts down. Lead guitarists might not like to hear this, but a good vocal performance is often the make or break between a professional sounding record and one that sounds like a below-par demo. Again, it is worth mentioning to not be overly ambitious with the amount of songs that you want to get finished. If you don’t keep an eye on your budget or are not realistic with your time you could end up with 5 really great drum takes instead of 2 or 3 great sounding finished songs. Work out between you who is going to go first and which songs should take priority. Make sure any overdubs have been worked out prior to your session and that these have been ironed out in pre-production.
RECORDING OPTIONS TO CONSIDER:
These things need to be considered beforehand.
Click Track: With or without one? Is your drummer tight enough to perform to a click or would you rather have the ‘as live’ feel?
Advantages: Keeps the pace of the song steady. Even if you’re not able to keep perfectly in time it will still sound more consistent and avoid major tempo changes. It also makes the editing process easier and any post production such as drum quantising, or adding extra percussion or synthesiser tracks later in the recording. This is also maybe the best option if you’re recording in overdubs, in that everyone has agreed on what the tempo of the track should be rather than leaving it solely down to the drummer who may begin speeding up under pressure.
Disadvantages: some performers can find it constraining in their performance and they might not be able to feel the groove as well. This is something you will need to decide on as a band.
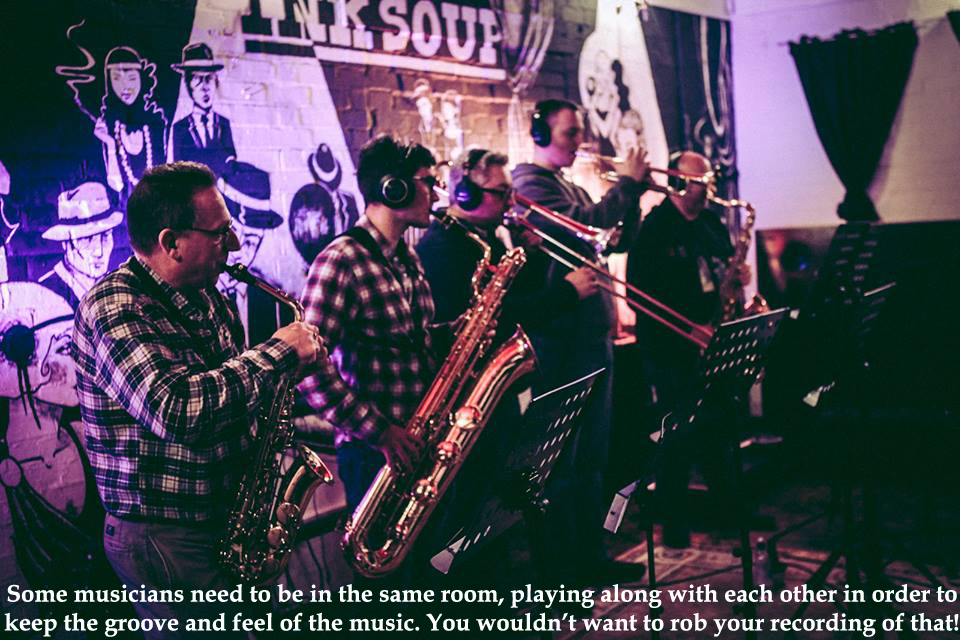
Straight Ahead recording where the whole band is recording at the same time in the same room. {Example: Voodoo Child (Slight Return) – The Jimi Hendrix Experience; Black Keys – Lonely Boy}
Advantages: able to capture the same energy of performance as if the band were playing live on stage. It allows for spontaneous ad-libs and ‘vibing’ off of each other’s performance. This type of recording is ideal and fairly quick if you are not too bothered about the ‘odd’ mistake coming through and want to capture a ‘warts n all’ performance.
Disadvantages: If any mistakes are made by one person, the whole band will need to retake the song over due to bleed. This can mean doing many takes of the same song and risking tiring out musicians who would otherwise have had an acceptable take. Or in extreme cases, if it takes too many takes to get the song down you risk losing the original energy that was intended in the first place. It can mean that actual recording techniques are restricted also (you can’t have a ‘roomy’ drum kit and not roomy guitar, or overdubbing guitars might be more restricted. It can also mean that the mixing process can be more restricted due to the amount of bleed you can get between certain instruments, particularly if the vocals are recorded at the same time. Some bands opt to lay a ‘guide’ vocal down during the initial performance to then replace it with a more controlled vocal later.
Straight Ahead with isolation booths: many larger studios have the option of recording as above but with added isolation between instruments {examples: Californication – Red Hot Chilli Peppers; Runnin’ With The Devil – Van Halen}
Advantages: Able to play all together as above but with more options on mike placement and recording techniques, but with the added bonus that if one person makes a mistake it isn’t always necessary to have the whole band start over.
Disadvantages: Depending on how the rooms are situated you might lose the ‘atmosphere’ that the ‘as live’ option brings.
Overdubbing: If you are after a tight and polished sound, this is more than likely the option you will need to consider. This consists of recording in layers or ‘overdubbing’. Usually starting with the drums first then layering the instruments as you go {examples: While My Guitar Gently Weeps – The Beatles; Bohemian Rhapsody – Queen}
Advantages: Tight, polished sound. Complete isolation on each instrument gives you more recording options with mike techniques etc. gives other musicians a break while you record the individual layers. Everyone can give their opinion on whether you have got a good take and ready to move on.

Disadvantages: Sometimes it can be frustrating if you get stuck on one part. Can extend the length of the recording, which means you can run into problems with musicians getting tired after a long session. The way to combat this is to adopt a shift pattern. Of course, this way of recording can increase your budget if you are not careful. However, this can often be offset against the amount of retakes you will have to do in an ‘as live’ situation.
Programming: It is not uncommon to program musical parts if not the whole composition electronically. The obvious example of this would be modern dance music which is for the most part entirely made using synthesisers and software {examples: Makes Me Wonder – Maroon 5; Sam Smith – Money On My Mind}
However, using electronic parts can be a useful addition to pad out your production in the post-production phase or even using electronic aids during the pre-production phase with a view to replacing these instruments with live instruments later on can be helpful. Whether, you are a DJ/Producer who wants to use electronic instruments for the entirety of your production or whether you just want a helping hand to add extra elements to your song such as string arrangements or extra percussion.
It is also worth mentioning that programming is used heavily in other genres such as metal. For instance, some bands will entirely program drums, or singer/songwriters might use programming to give their song a ‘fuller’ production by adding various layers to their solo performance.
Read Part 2 of blog here
rofl audio, recording studio, recording facilities, studio time, pre-production, home recording, studio recording, tracking, click track, overdubbing, programming
